Documentation 🔍︎
How to connect to Facebook Ads data
-
Authenticate - Each platform will have its own way to get to the authentication screen. You will first be asked to log in using your Facebook credentials.
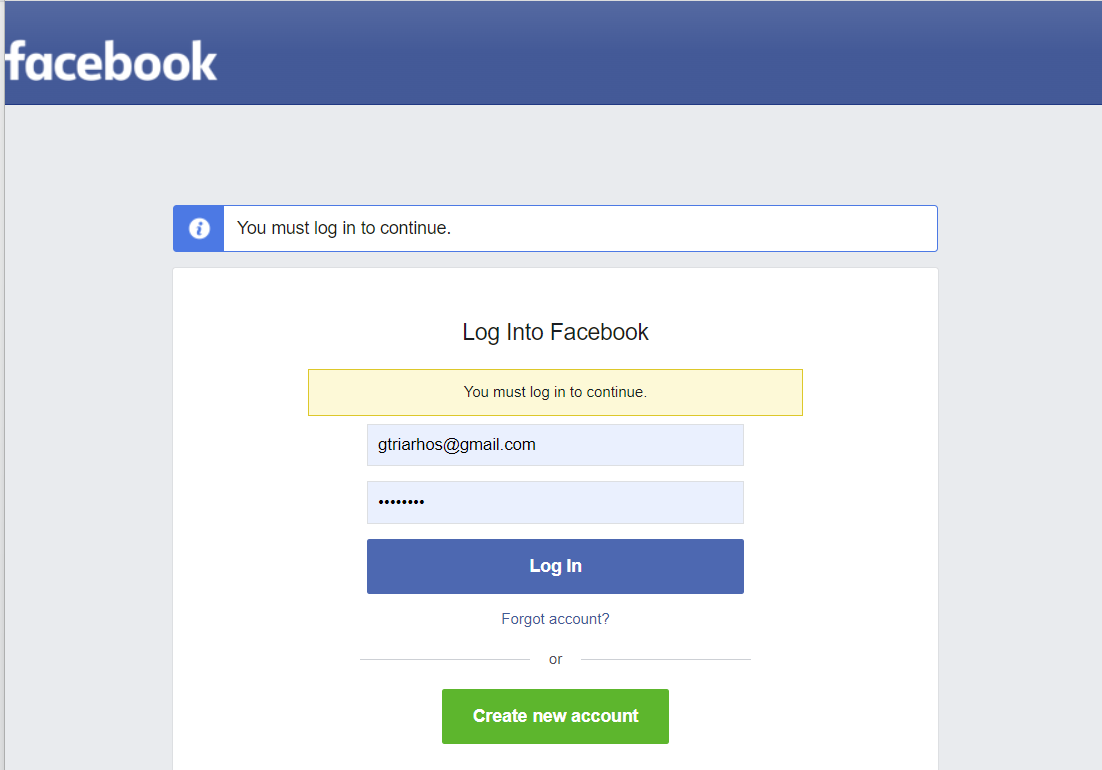
Image: Facebook credentials
Next you will be asked to link your Facebook account to everythingData
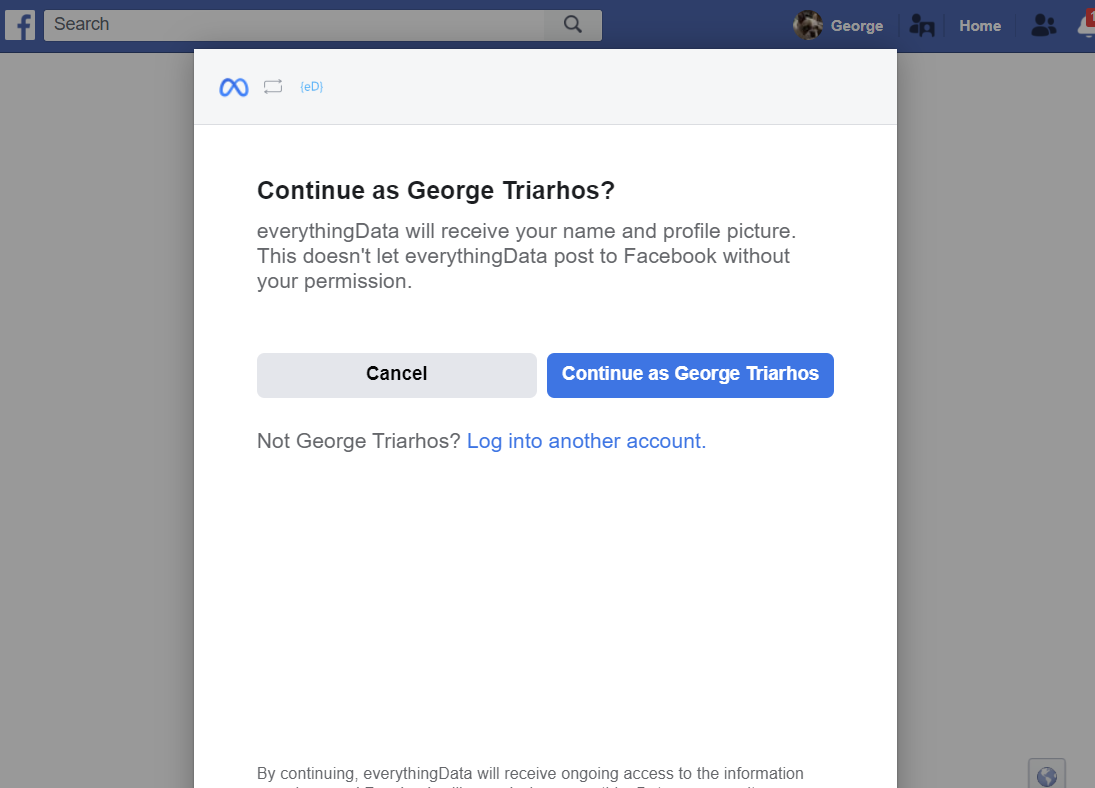
Image: Facebook link to everythingData
Next you will be asked to give everythingData access to your Facebook ads and related stats. Click Done.
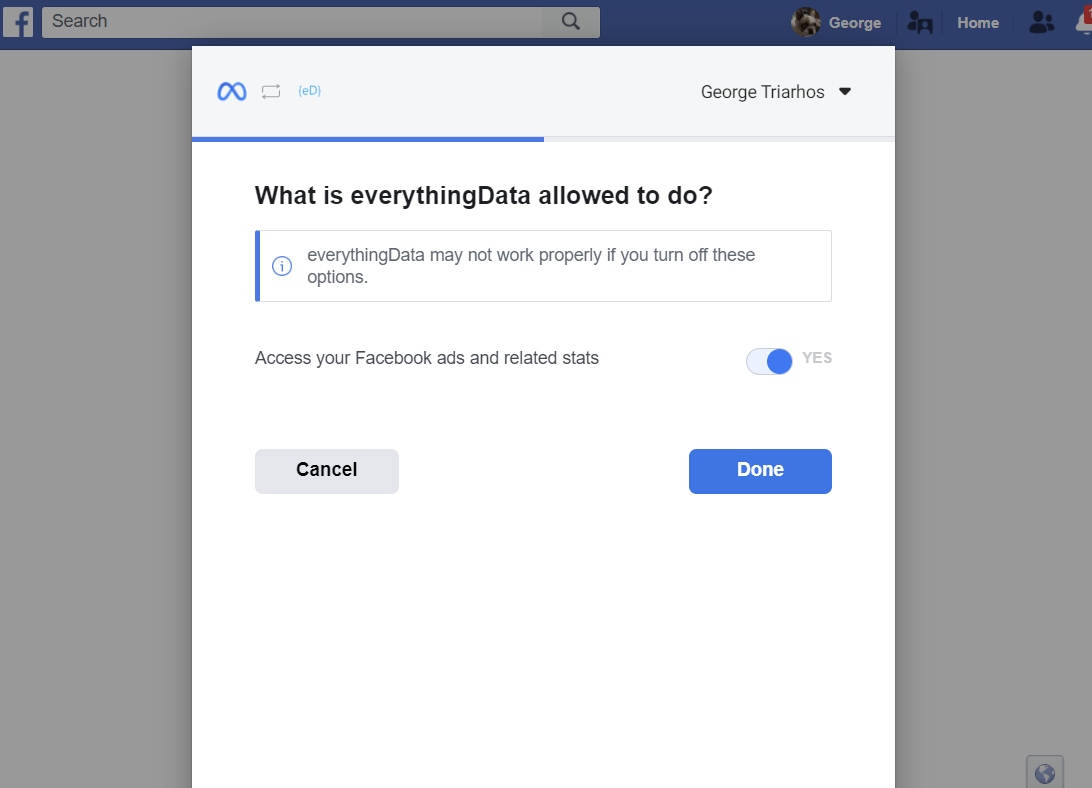
Image: Give access to Facebook Ads stats
Next you will need to confirm that your account is linked. Click OK.
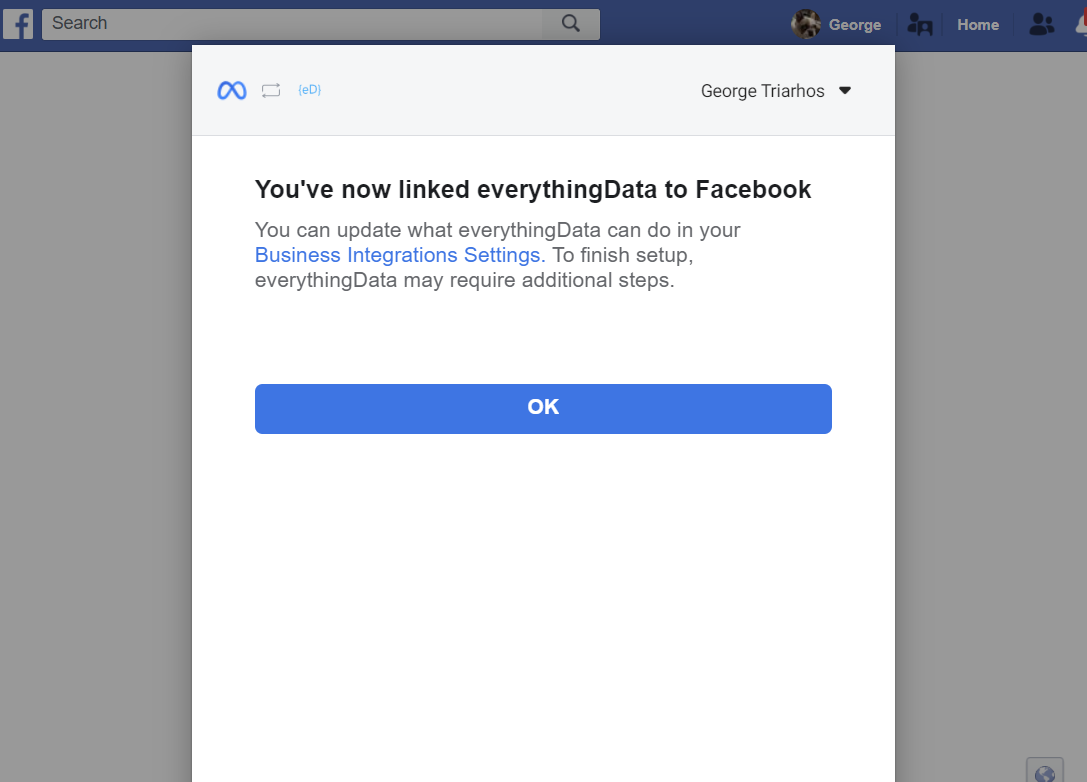
Image: Confirm account access
-
Selecting Accounts - After authentication, you will have the option to select one or more accounts for your Facebook login. You can also select All Accounts or All Active Accounts.
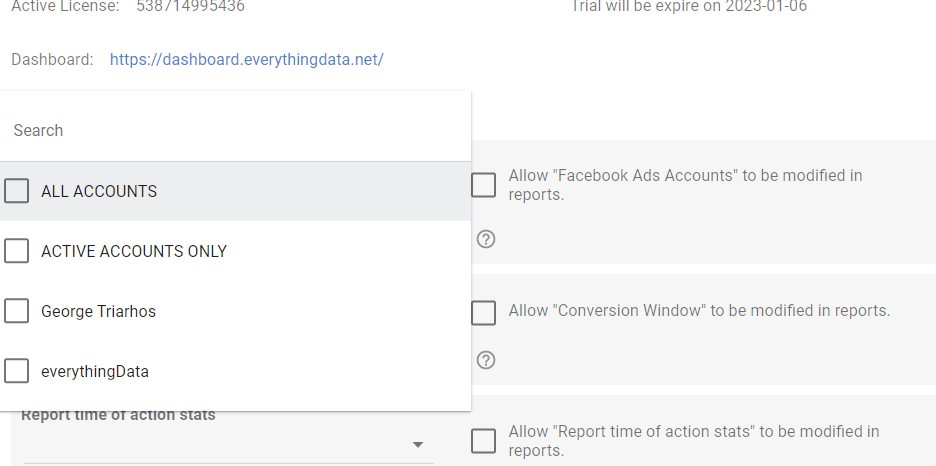
Image: Account access for Looker Studio
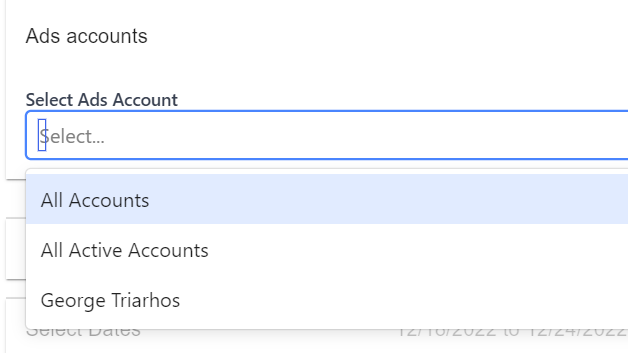
Image: Account access for Power BI and API
-
Selecting Options - In Facebook Ads, you can analyze stats in two ways, with the Attribution Window and the Report Time.
Attribution Window determines the time period in which the action can occur. For example, 28d_click means all actions that happened 28 days after someone clicked on the ad. The default option means ["7d_click","1d_view"].
Report Time determines the report time of action stats. For example, if a person saw the ad on Jan 1st but converted on Jan 2nd, when you query the API with action_report_time=impression, you see a conversion on Jan 1st. When you query the API with action_report_time=conversion, you see a conversion on Jan 2nd. The default value is impression.
-
Select Dates - Returning statistics for a certain time period depend upon the platform you are using. However, for each platform it means the date in which the action on the ad was performed.
In Looker Studio, the default is 28 Days, but if you use our template the default date is a Year to Date.
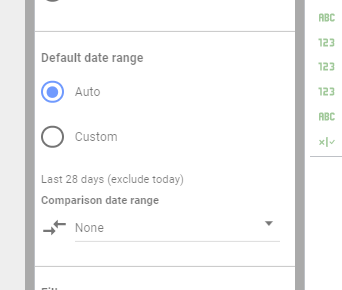
Image: Change date in Looker Studio
-
Select Fields - We have compiled over 900 fields for Facebook Ads. You can call support for an explanation of all the available fields.